利用 Algolia 实现内容搜索
2023年1月 · 预计阅读时间: 3 分钟
Docusaurus 静态博客搭建使用 algolia 配置搜索。
现在静态博客的标配之一就是博客搜索 🔍,我也是通过搭建博客发现了它,这篇主要记录一下怎么使用 algolia 完成博客搜索,自己的博客搭建使用的是 docusaurus 。
注册账号#
首先需要去 algolia 官网注册自己的账号,可以直接使用 Github 注册登陆即可。
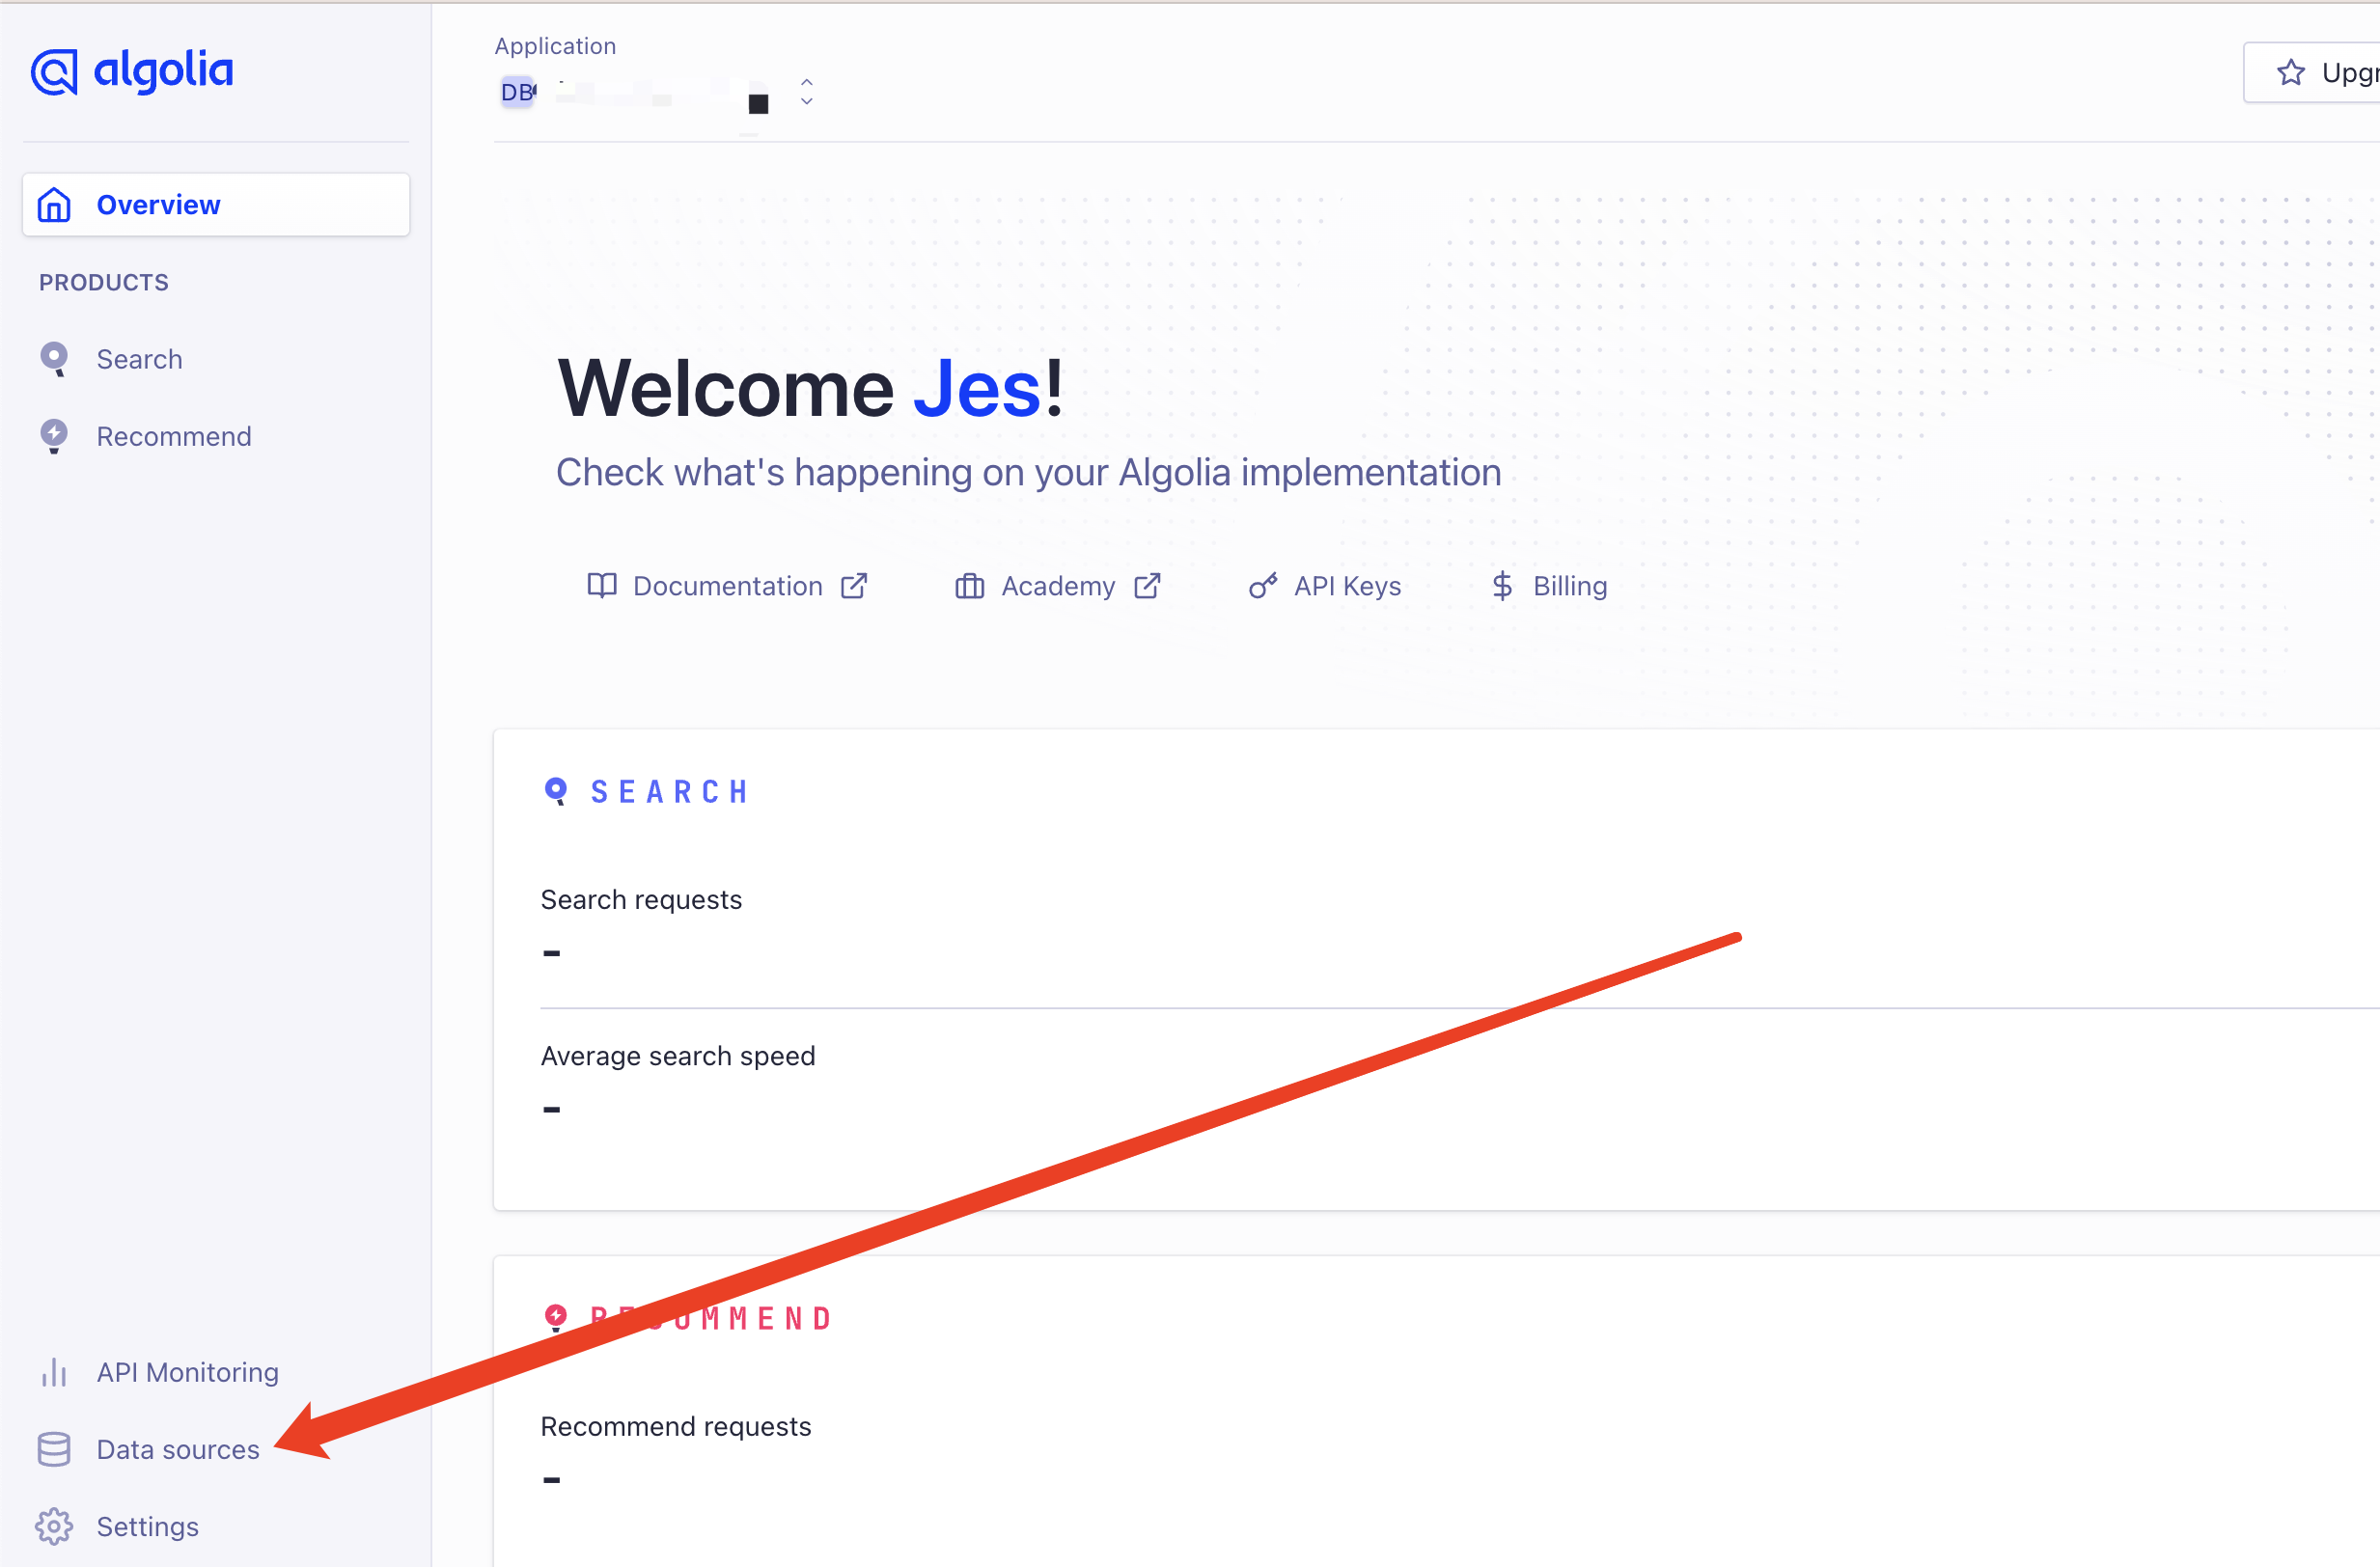
注册完后,创建数据源 DB:
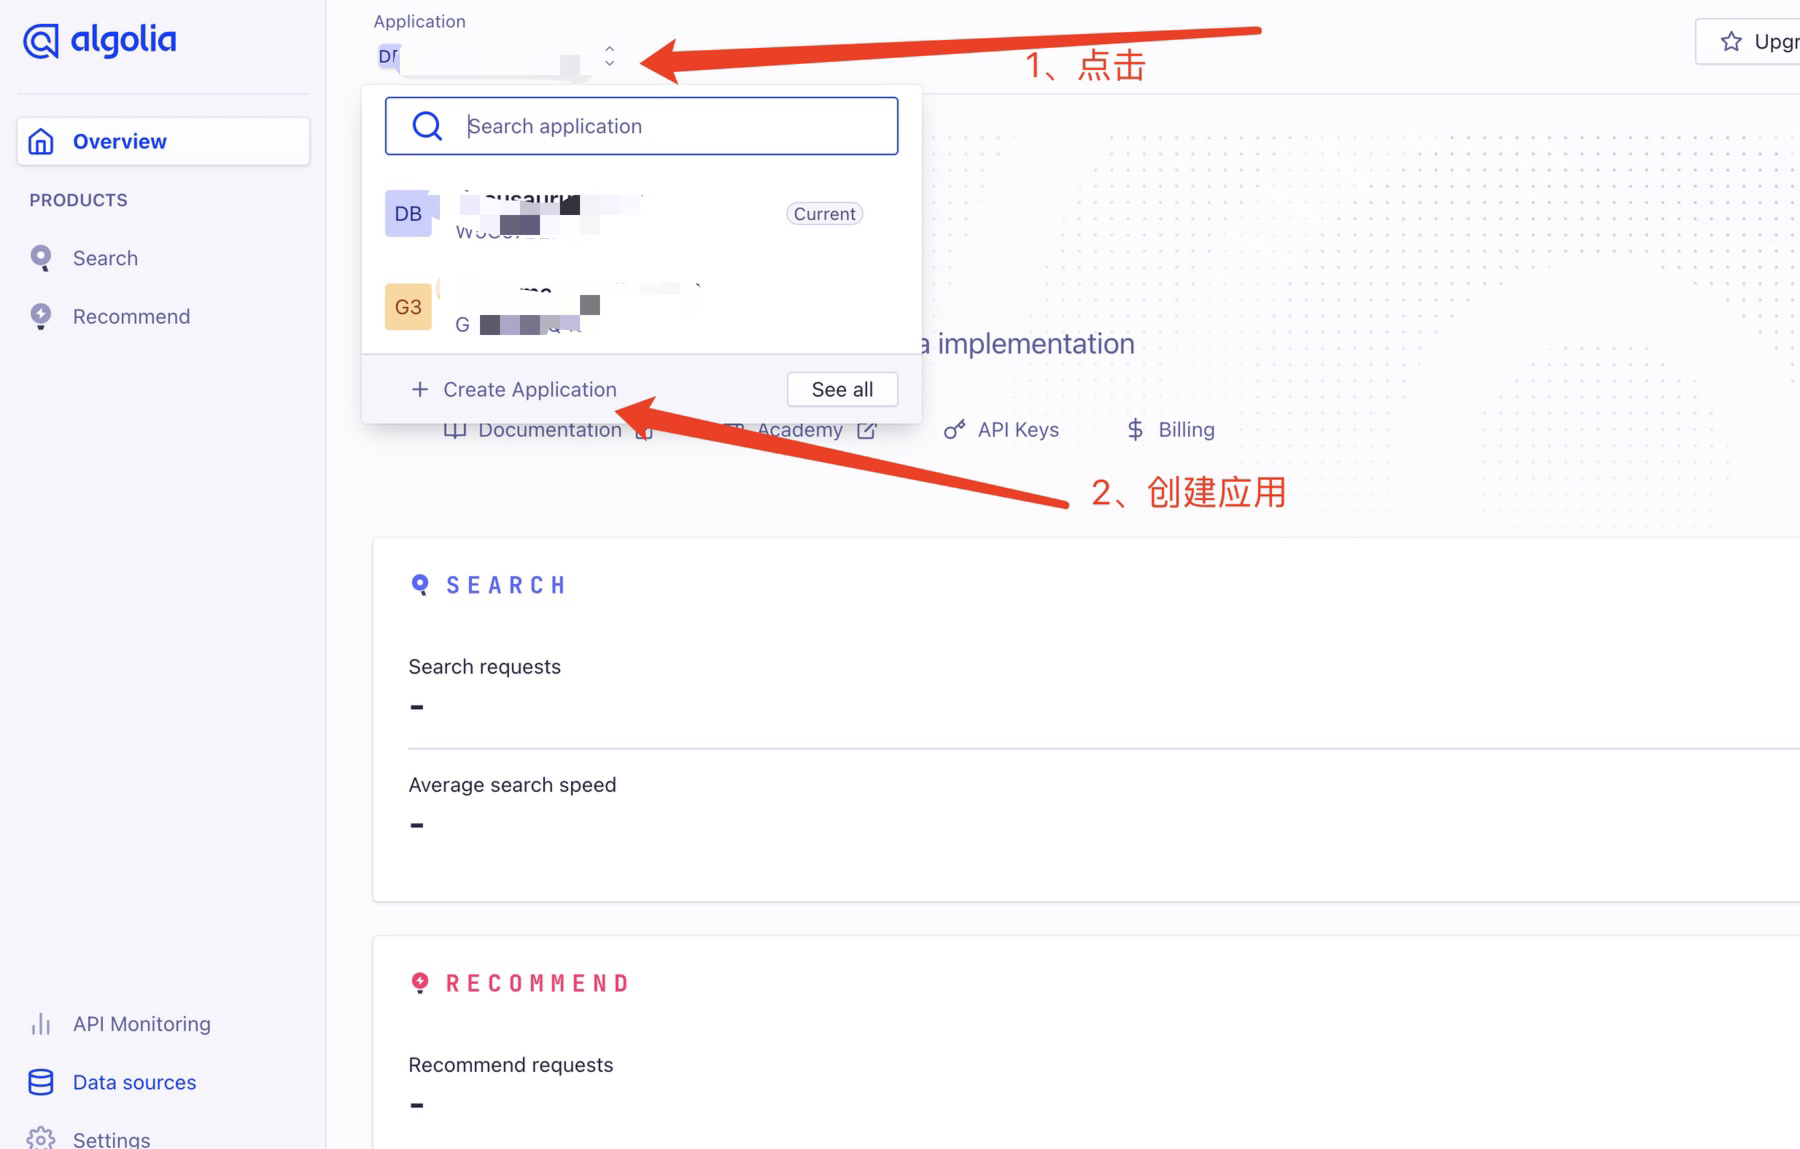
创建 Application#
然后就是创建了你自己的应用了:
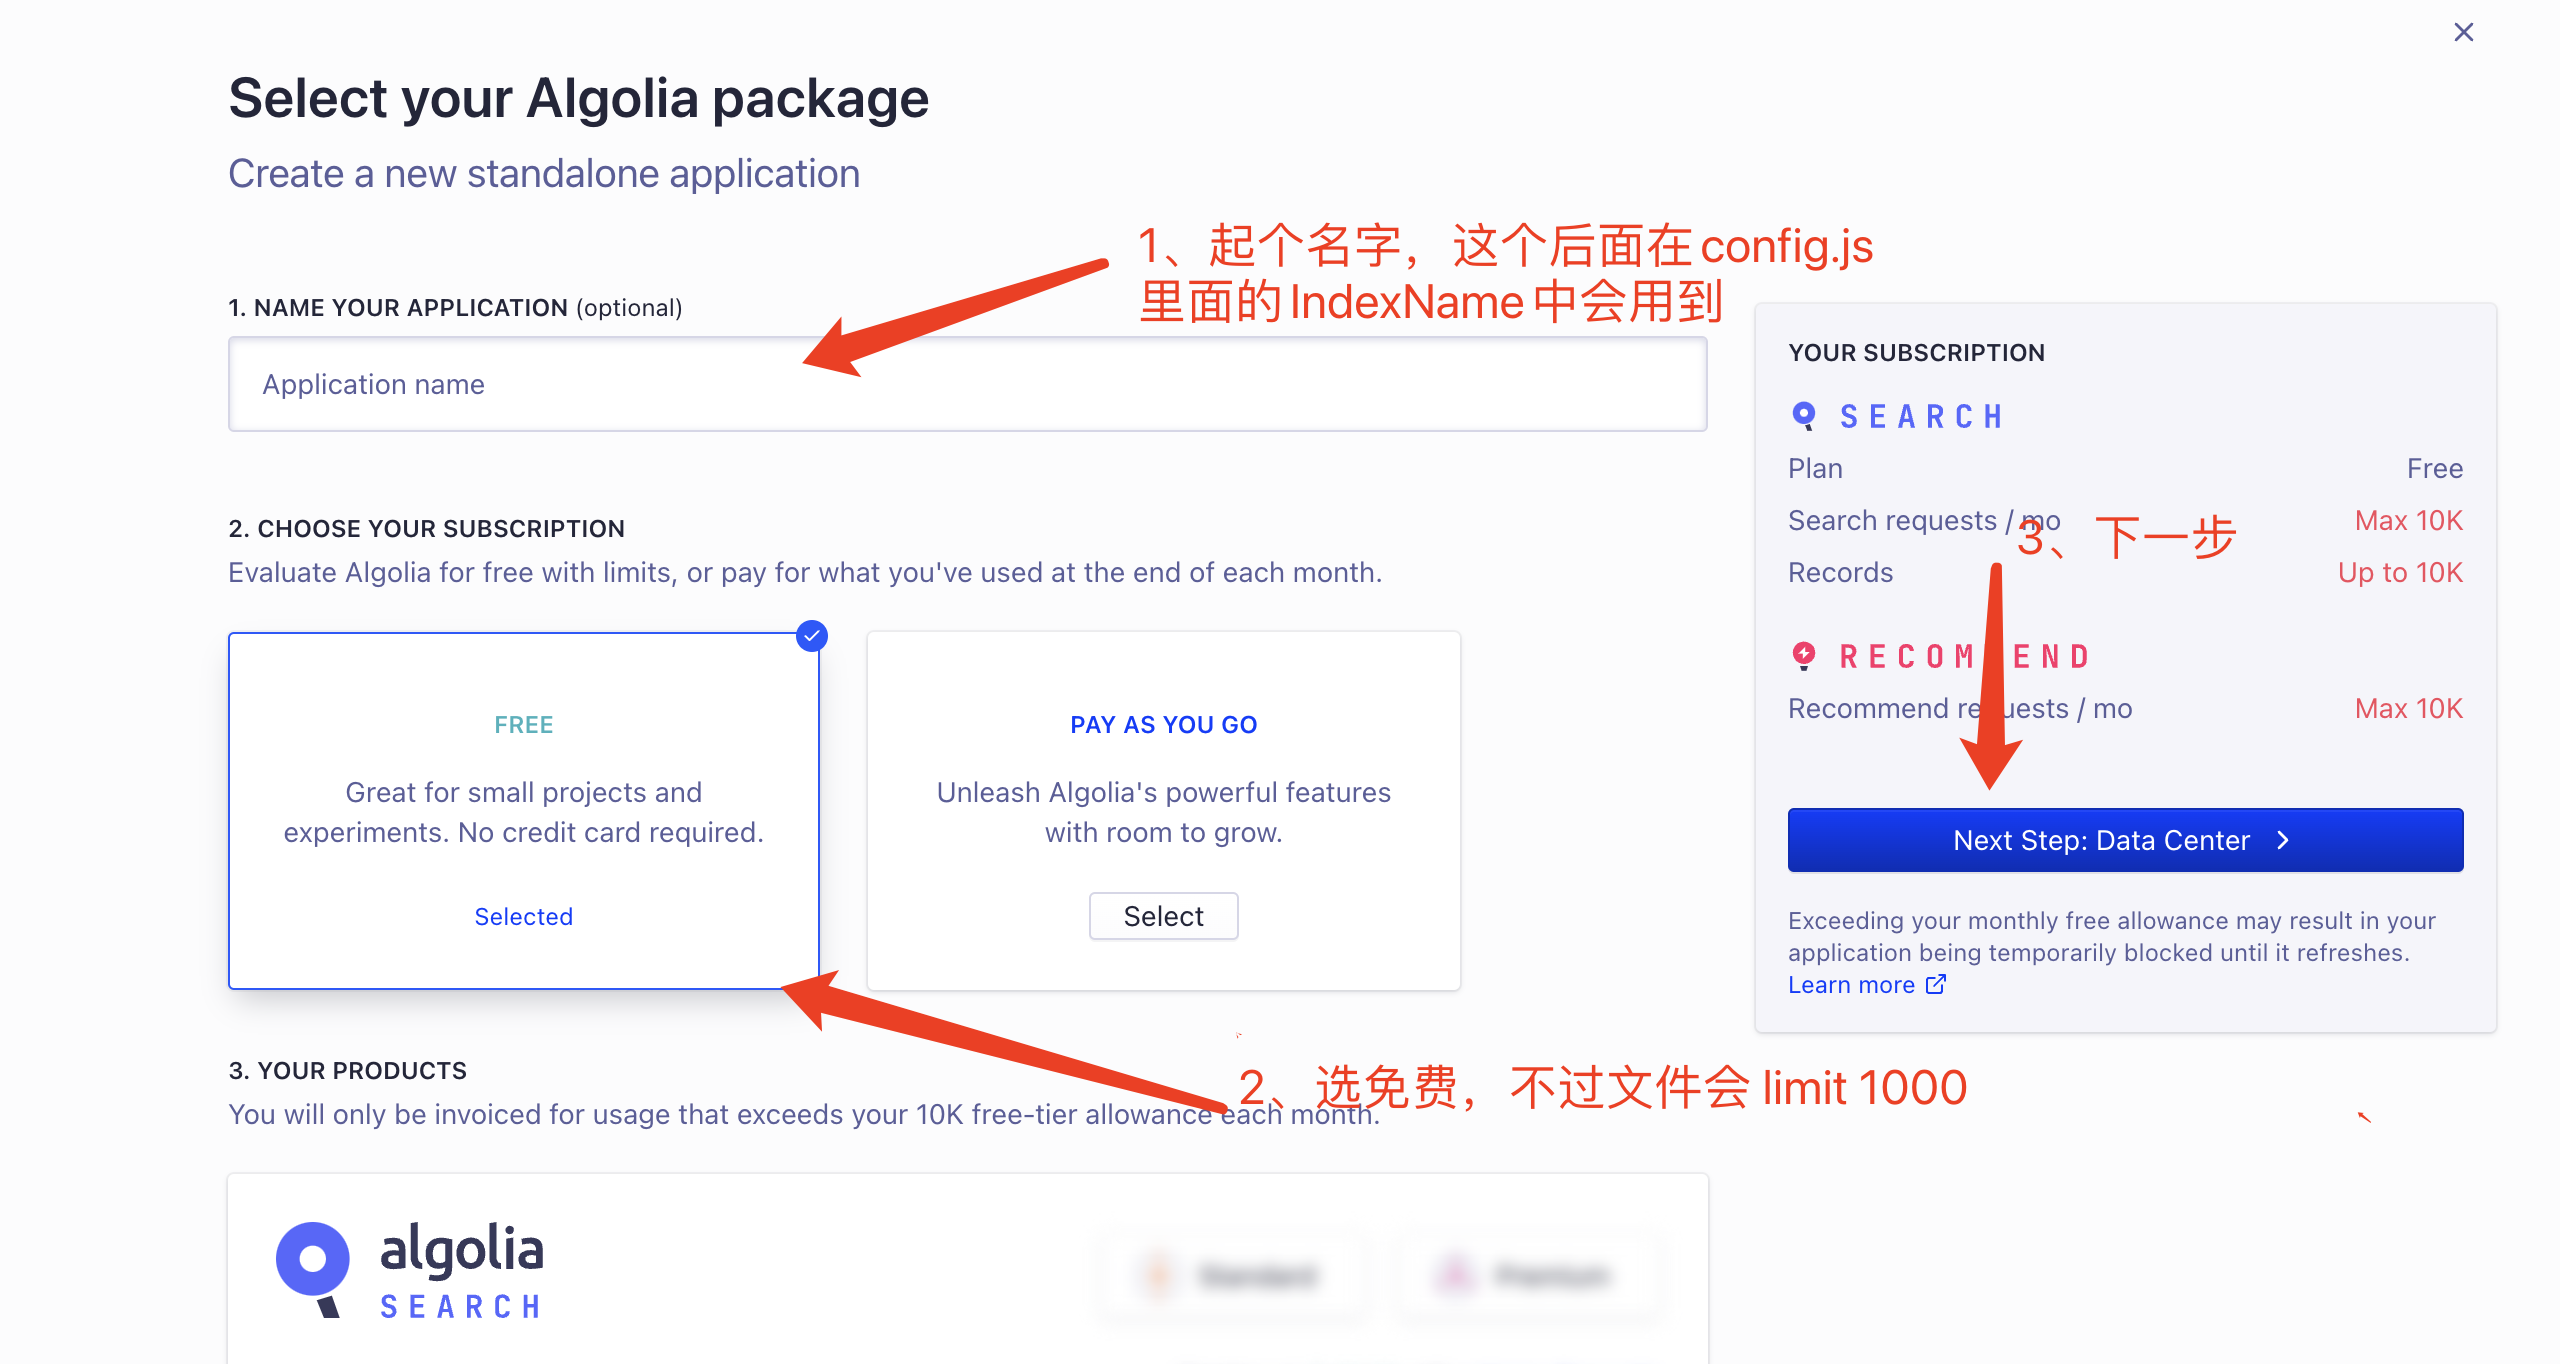
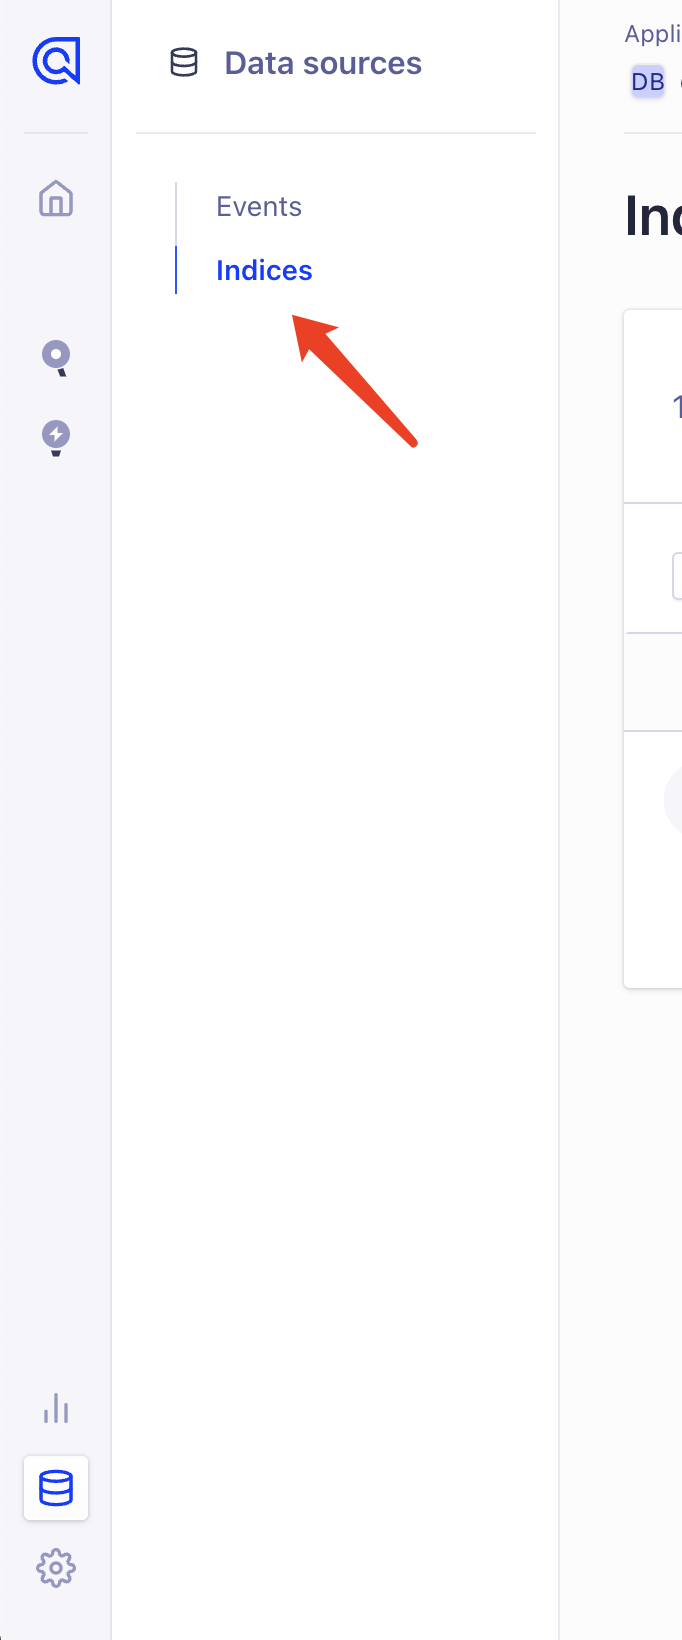
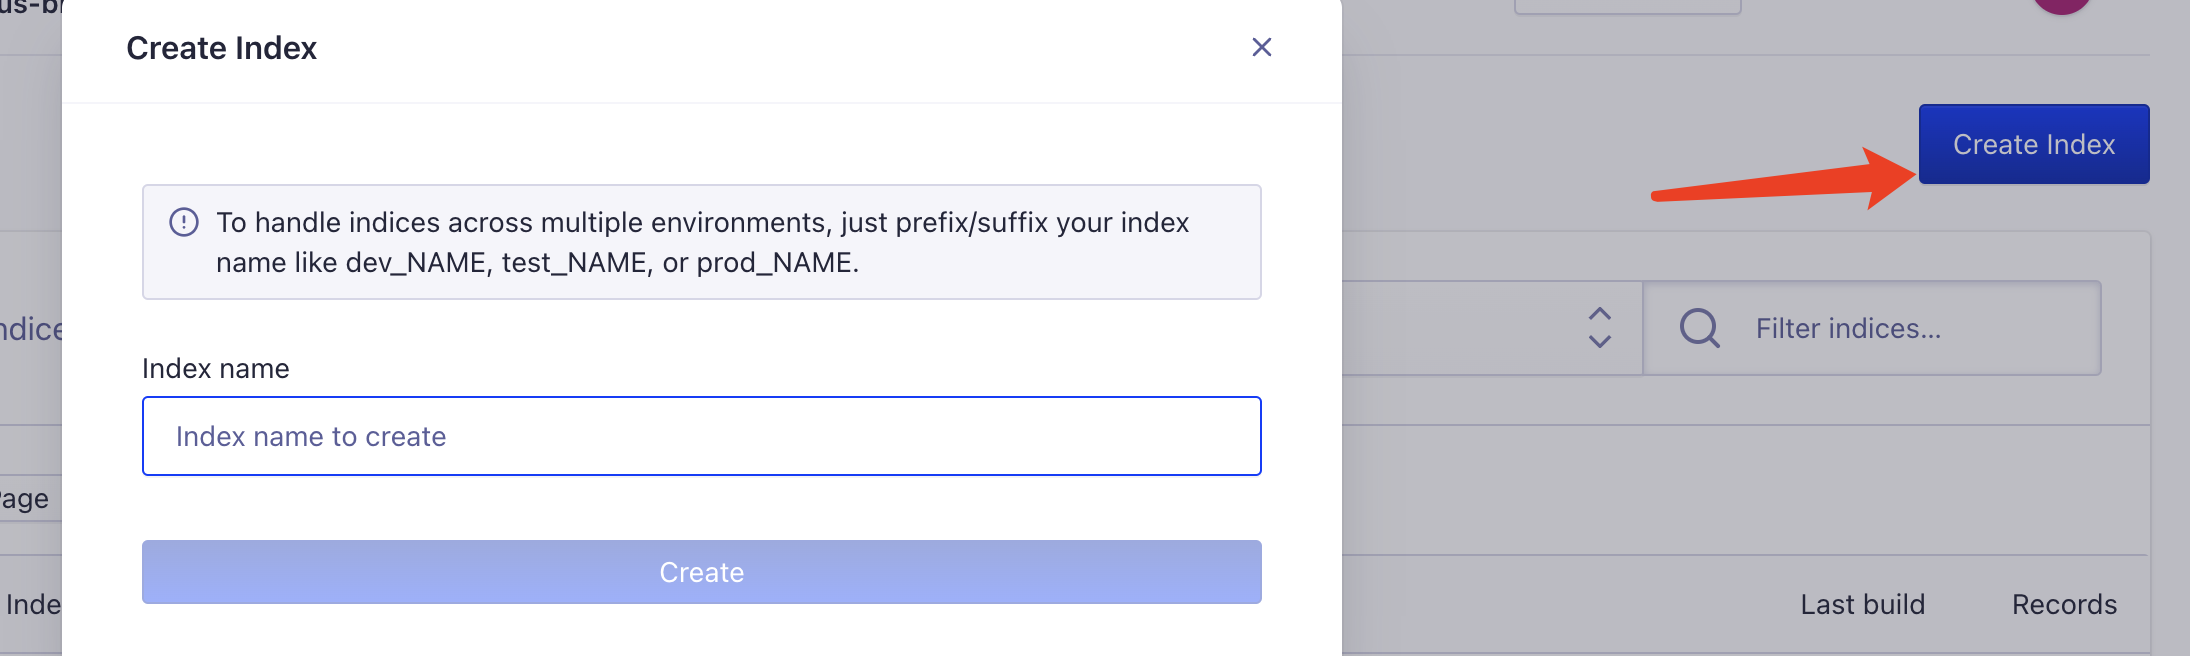
创建完之后,需要创建关键的 index 索引了,它用来存放爬取到的内容数据。点击 Indices
再给索引起个名字:这个名字后面会用到!
Docusaurus 项目中配置 algolia#
Docusaurus 官方已经支持了 algolia 搜索,直接去 docusaurus.config.js 文件配置即可:
themeConfig: { // ... algolia: { apiKey: "Search-Only API Key", indexName: "刚才创建索引的 name,不是数据源的 name", appId: "Application ID", },}如果是用其他搭建的比如 Hexo,VuePress/ VitePres,也类似,在对应在 config 文件配置就好。
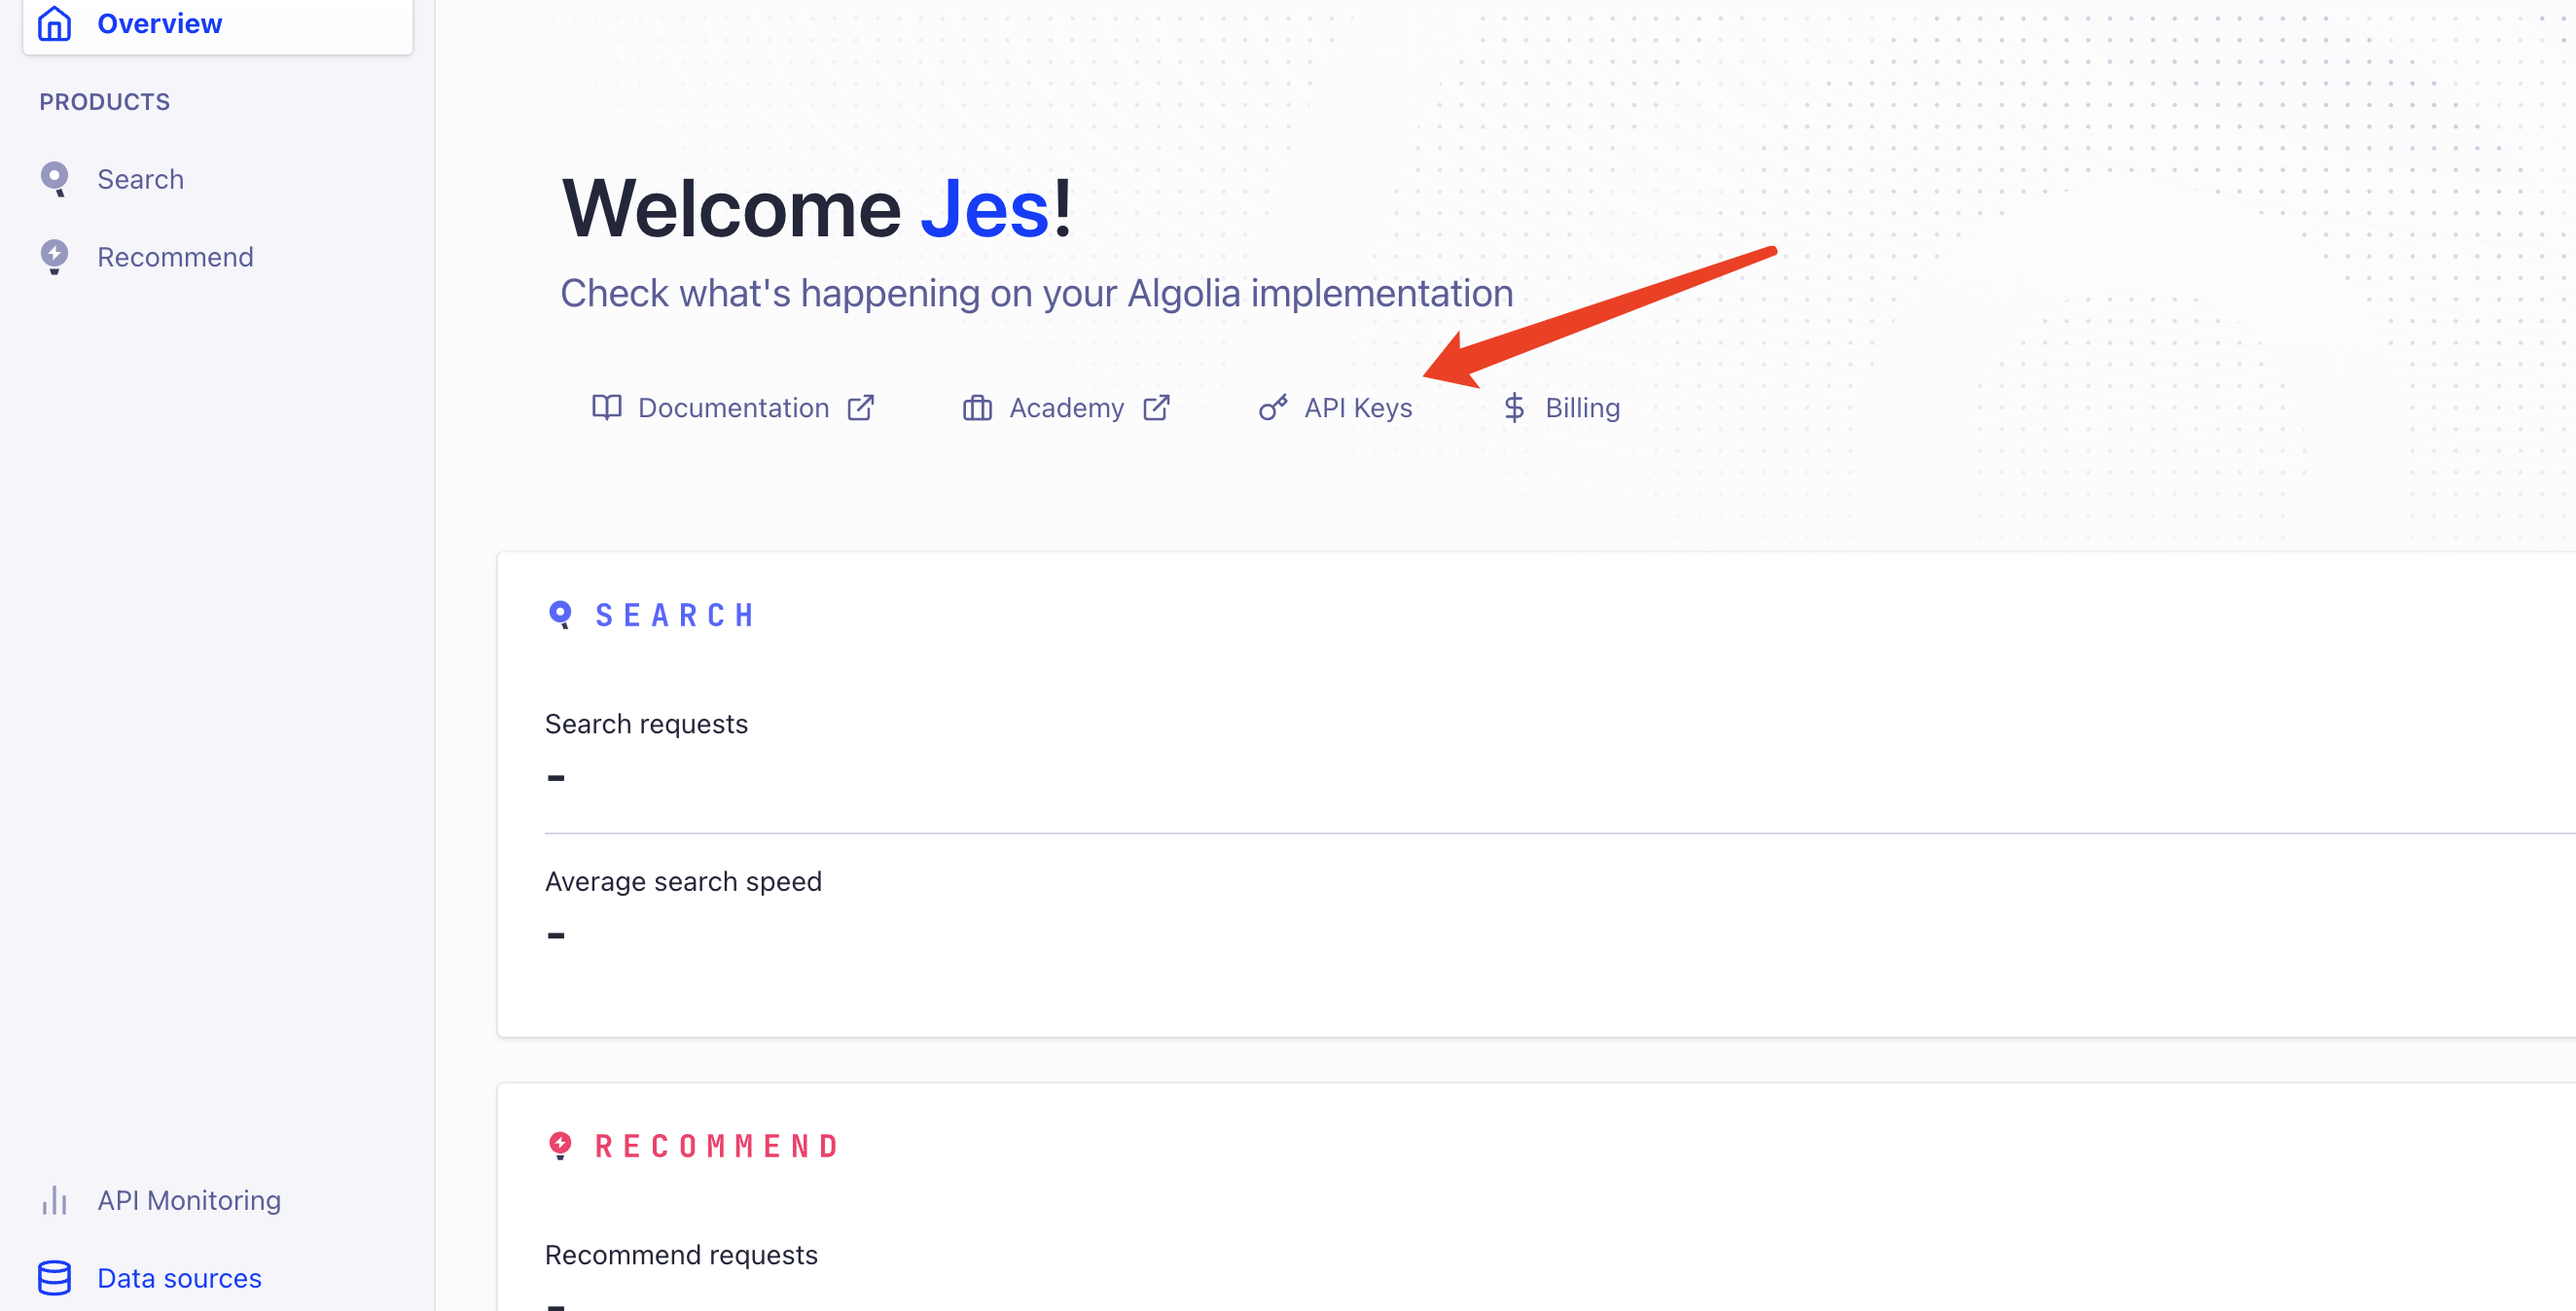
上面 apiKey、appId 可以在 API Keys 里面查看:
运行项目,就可以看到出现搜索功能,这时候还不能用,因为 algolia 还没有爬取自己网站的内容。
Docker 爬取本地内容推送到 Algolia#
由于 Algolia 限制开源项目才可以免费试用爬虫,所以我们要自己推送数据。需要如下环境:
- Docker(我的是 mac ,下载安装即可)
- jq(
brew install jq)—— 解析 json 文件用
爬取环境创建后,完成以下步骤
1、 创建 .env 文件存放环境变量
ALGOLIA_APP_ID=xxxALGOLIA_API_KEY=xxx2、创建一个docsearch.json文件
{ // 修改部分 "index_name": "对应上config文件里面的indexName,也是创建的索引名", "start_urls": ["https://www.website.com/"], // 自己的域名网站地址 // 更换自己的域名地址,Docusaurus 官方会有配置生成 sitemap.xml 的方式 "sitemap_urls": ["https://www.website.com/sitemap.xml"], // end "stop_urls": ["/search"], // 排除不需要爬取页面的路由地址 "selectors": { "lvl0": { "selector": "(//ul[contains(@class,'menu__list')]//a[contains(@class, 'menu__link menu__link--sublist menu__link--active')]/text() | //nav[contains(@class, 'navbar')]//a[contains(@class, 'navbar__link--active')]/text())[last()]", "type": "xpath", "global": true, "default_value": "Documentation" }, "lvl1": "header h1, article h1", "lvl2": "article h2", "lvl3": "article h3", "lvl4": "article h4", "lvl5": "article h5, article td:first-child", "lvl6": "article h6", "text": "article p, article li, article td:last-child" }, "custom_settings": { "attributesForFaceting": [ "type", "lang", "language", "version", "docusaurus_tag" ], "attributesToRetrieve": [ "hierarchy", "content", "anchor", "url", "url_without_anchor", "type" ], "attributesToHighlight": ["hierarchy", "content"], "attributesToSnippet": ["content:10"], "camelCaseAttributes": ["hierarchy", "content"], "searchableAttributes": [ "unordered(hierarchy.lvl0)", "unordered(hierarchy.lvl1)", "unordered(hierarchy.lvl2)", "unordered(hierarchy.lvl3)", "unordered(hierarchy.lvl4)", "unordered(hierarchy.lvl5)", "unordered(hierarchy.lvl6)", "content" ], "distinct": true, "attributeForDistinct": "url", "customRanking": [ "desc(weight.pageRank)", "desc(weight.level)", "asc(weight.position)" ], "ranking": [ "words", "filters", "typo", "attribute", "proximity", "exact", "custom" ], "highlightPreTag": "<span class='algolia-docsearch-suggestion--highlight'>", "highlightPostTag": "</span>", "minWordSizefor1Typo": 3, "minWordSizefor2Typos": 7, "allowTyposOnNumericTokens": false, "minProximity": 1, "ignorePlurals": true, "advancedSyntax": true, "attributeCriteriaComputedByMinProximity": true, "removeWordsIfNoResults": "allOptional", "separatorsToIndex": "_", "synonyms": [ ["js", "javascript"], ["ts", "typescript"] ] }}控制台执行 docker 爬去推送命令:
docker run -it --env-file=.env -e "CONFIG=$(cat docsearch.json | jq -r tostring)" algolia/docsearch-scraper需要提前打开下载好的 docker 应用。
接下来就是等待阶段,这里需要点时间 download docker 内置的东西。
最后控制台出现:
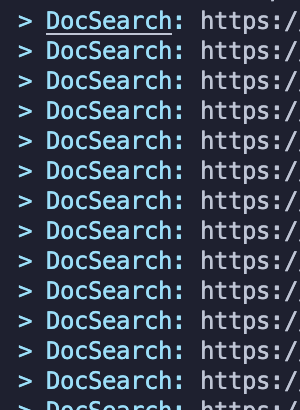
说明就在推送本地爬取的内容到 algolia 了。
利用 Github Action#
可以利用 github 的 Action 帮我们跑这个阶段的内容,这个还是比较方便的。
项目根目录创建 .github/workflows/docsearch.yml 文件
内容:
name: docsearch
on:  push:    branches:      - masterjobs:  algolia:    runs-on: ubuntu-latest    steps:      - uses: actions/checkout@v2
      - name: Get the content of docsearch.json as config        id: algolia_config        run: echo "::set-output name=config::$(cat docsearch.json | jq -r tostring)"
- name: Run algolia/docsearch-scraper image env: ALGOLIA_APP_ID: ${{ secrets.ALGOLIA_APP_ID }} ALGOLIA_API_KEY: ${{ secrets.ALGOLIA_API_KEY }} CONFIG: ${{ steps.algolia_config.outputs.config }} run: | docker run \ --env APPLICATION_ID=${ALGOLIA_APP_ID} \ --env API_KEY=${ALGOLIA_API_KEY} \ --env "CONFIG=${CONFIG}" \ algolia/docsearch-scraper这里说一下设置 github action 触发的条件
- 这个是 push 到 master 分支时触发。
on: push: branches: - master- 发布成功后触发
on: deployment- 定时触发
on: schedule: # 约每天早上8点触发(UTC时间0点) - cron: "0 0 * * *"- 手动触发
on: workflow_dispatch:我用的是第一种,提交代码更新文件就触发。
需要注意的是:免费的创建的 algolia 限制文件 records 1000,如果超过的话,Github Action 会跑失败,所以也就是爬取推送不成功。导致搜索用不了。暂时还不知道怎么解决,所以我都是本地用 docker 的。
用起来了#
根据上面步骤就可以完成 algolia 的搜索配置功能。